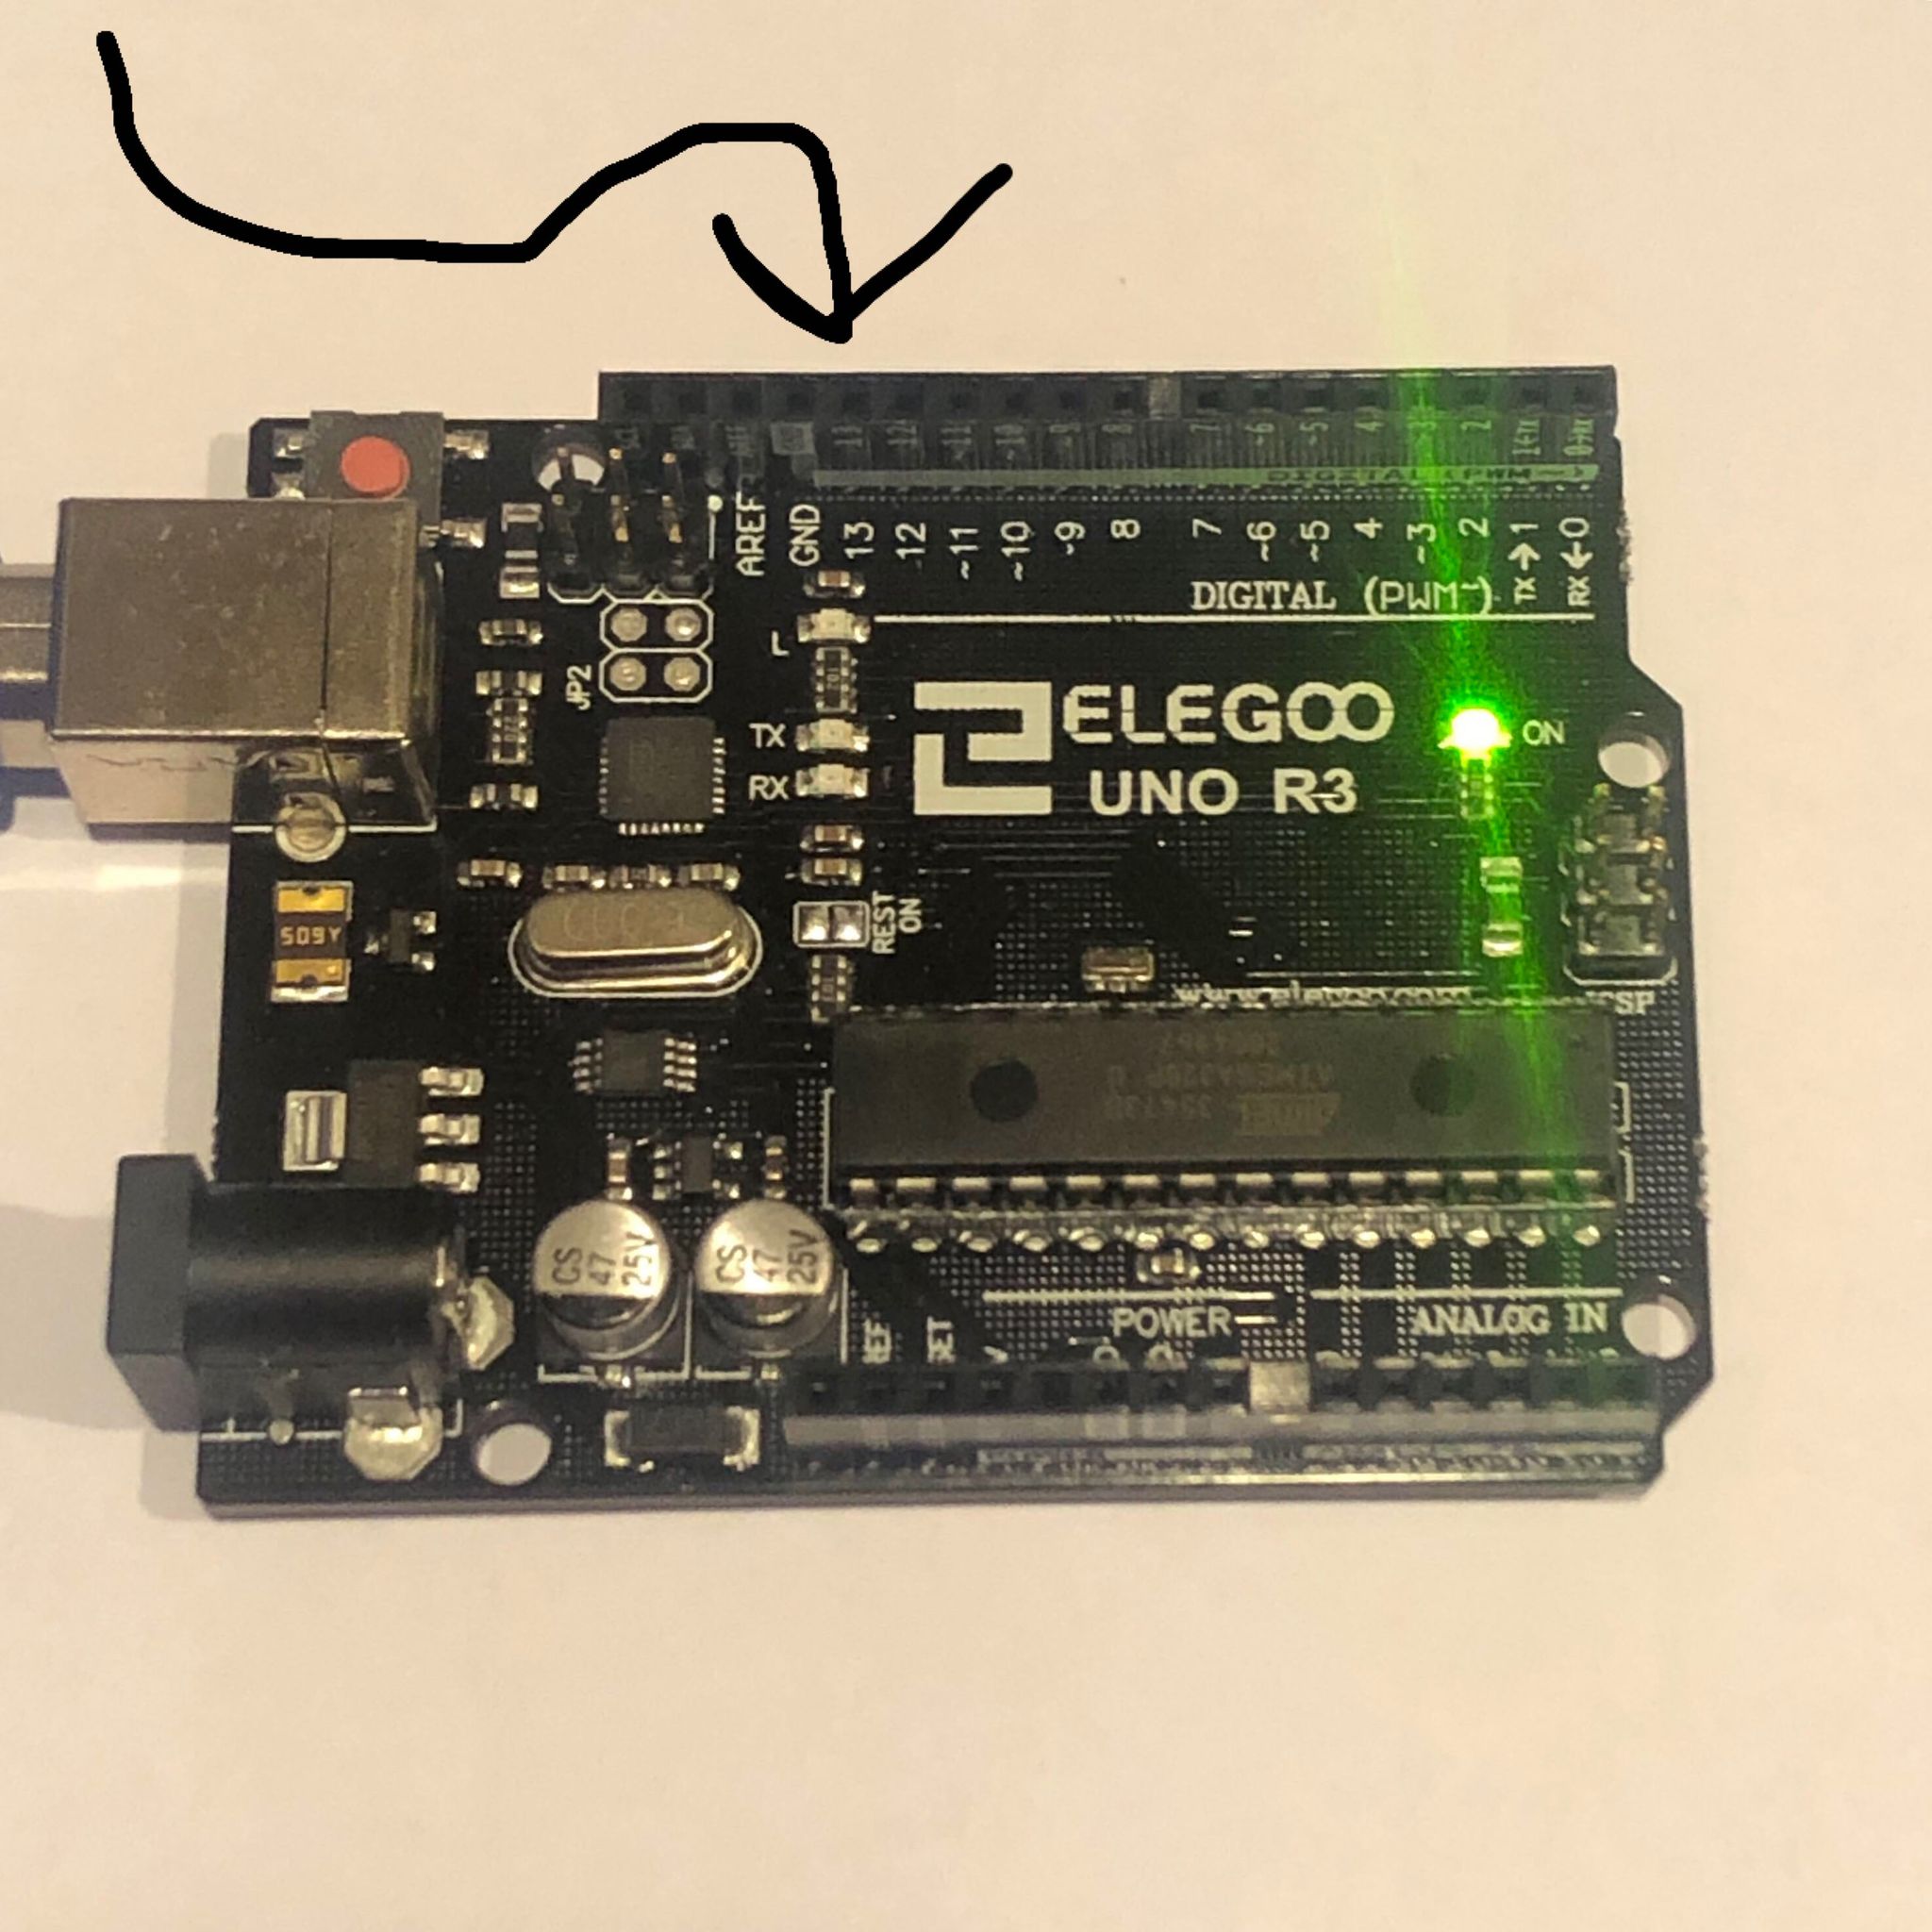
led of type int (short for integer) to the value 13, so we can indicate what pin we need to turn on (in this case pin 13 for the LED shown in the schematic)
setup() function, we set the pin to output some current. To do this, we call pinMode() which takes in two parameters: the first being the pin number, the second being either INPUT or OUTPUT. We call the function with the first parameter being the variable led (pin 13) and the second parameter being output (because we want to change the voltage of the LED).loop() function, we want to continously tell the Arduino to supply voltage to the LED in pin 13. In this case, we use the function digitalWrite()which allows us to change the voltage to either HIGH (turning it on) or LOW (turning it off). Again, the first parameter would be led (pin 13), and the second variable would be set to HIGH, to provide sufficient voltage to turn on the LED. And woahla: when you send the program to the Arduino, it will turn it's LED Indicator light on like in the video demonstration below!
/*
 * @author Timothy Do
 * Last Modified 9/13/2020
 * On.ino: Turns on the pin 13 (led indicator) on the Arduino Uno
 * Required Components
 * Arduino Uno
*/

//setting led pin to pin 13
int led = 13;
void setup() {
  // setting outputs
  pinMode(led, OUTPUT);
}

void loop() {
  //setting pin 13 to HIGH (thus turning it on)
  digitalWrite(led, HIGH);
}